Private Network in SolusVM2
A private network between VPS servers allows them to exchange data securely and efficiently without passing through the public internet. This is useful for internal file sharing, running clustered applications, databases, and services without the risk of exposing them to the outside network.
To support these needs, SolusVM2 provides the ability to create a private network between your VPS servers. The steps to set up and enable it is described in the instructions below:
Creating a Private Network
In order to enable a private network on your VPS, you first need to create one. To do this, log in to the SolusVM management portal at https://solusvm.fozzy.com/
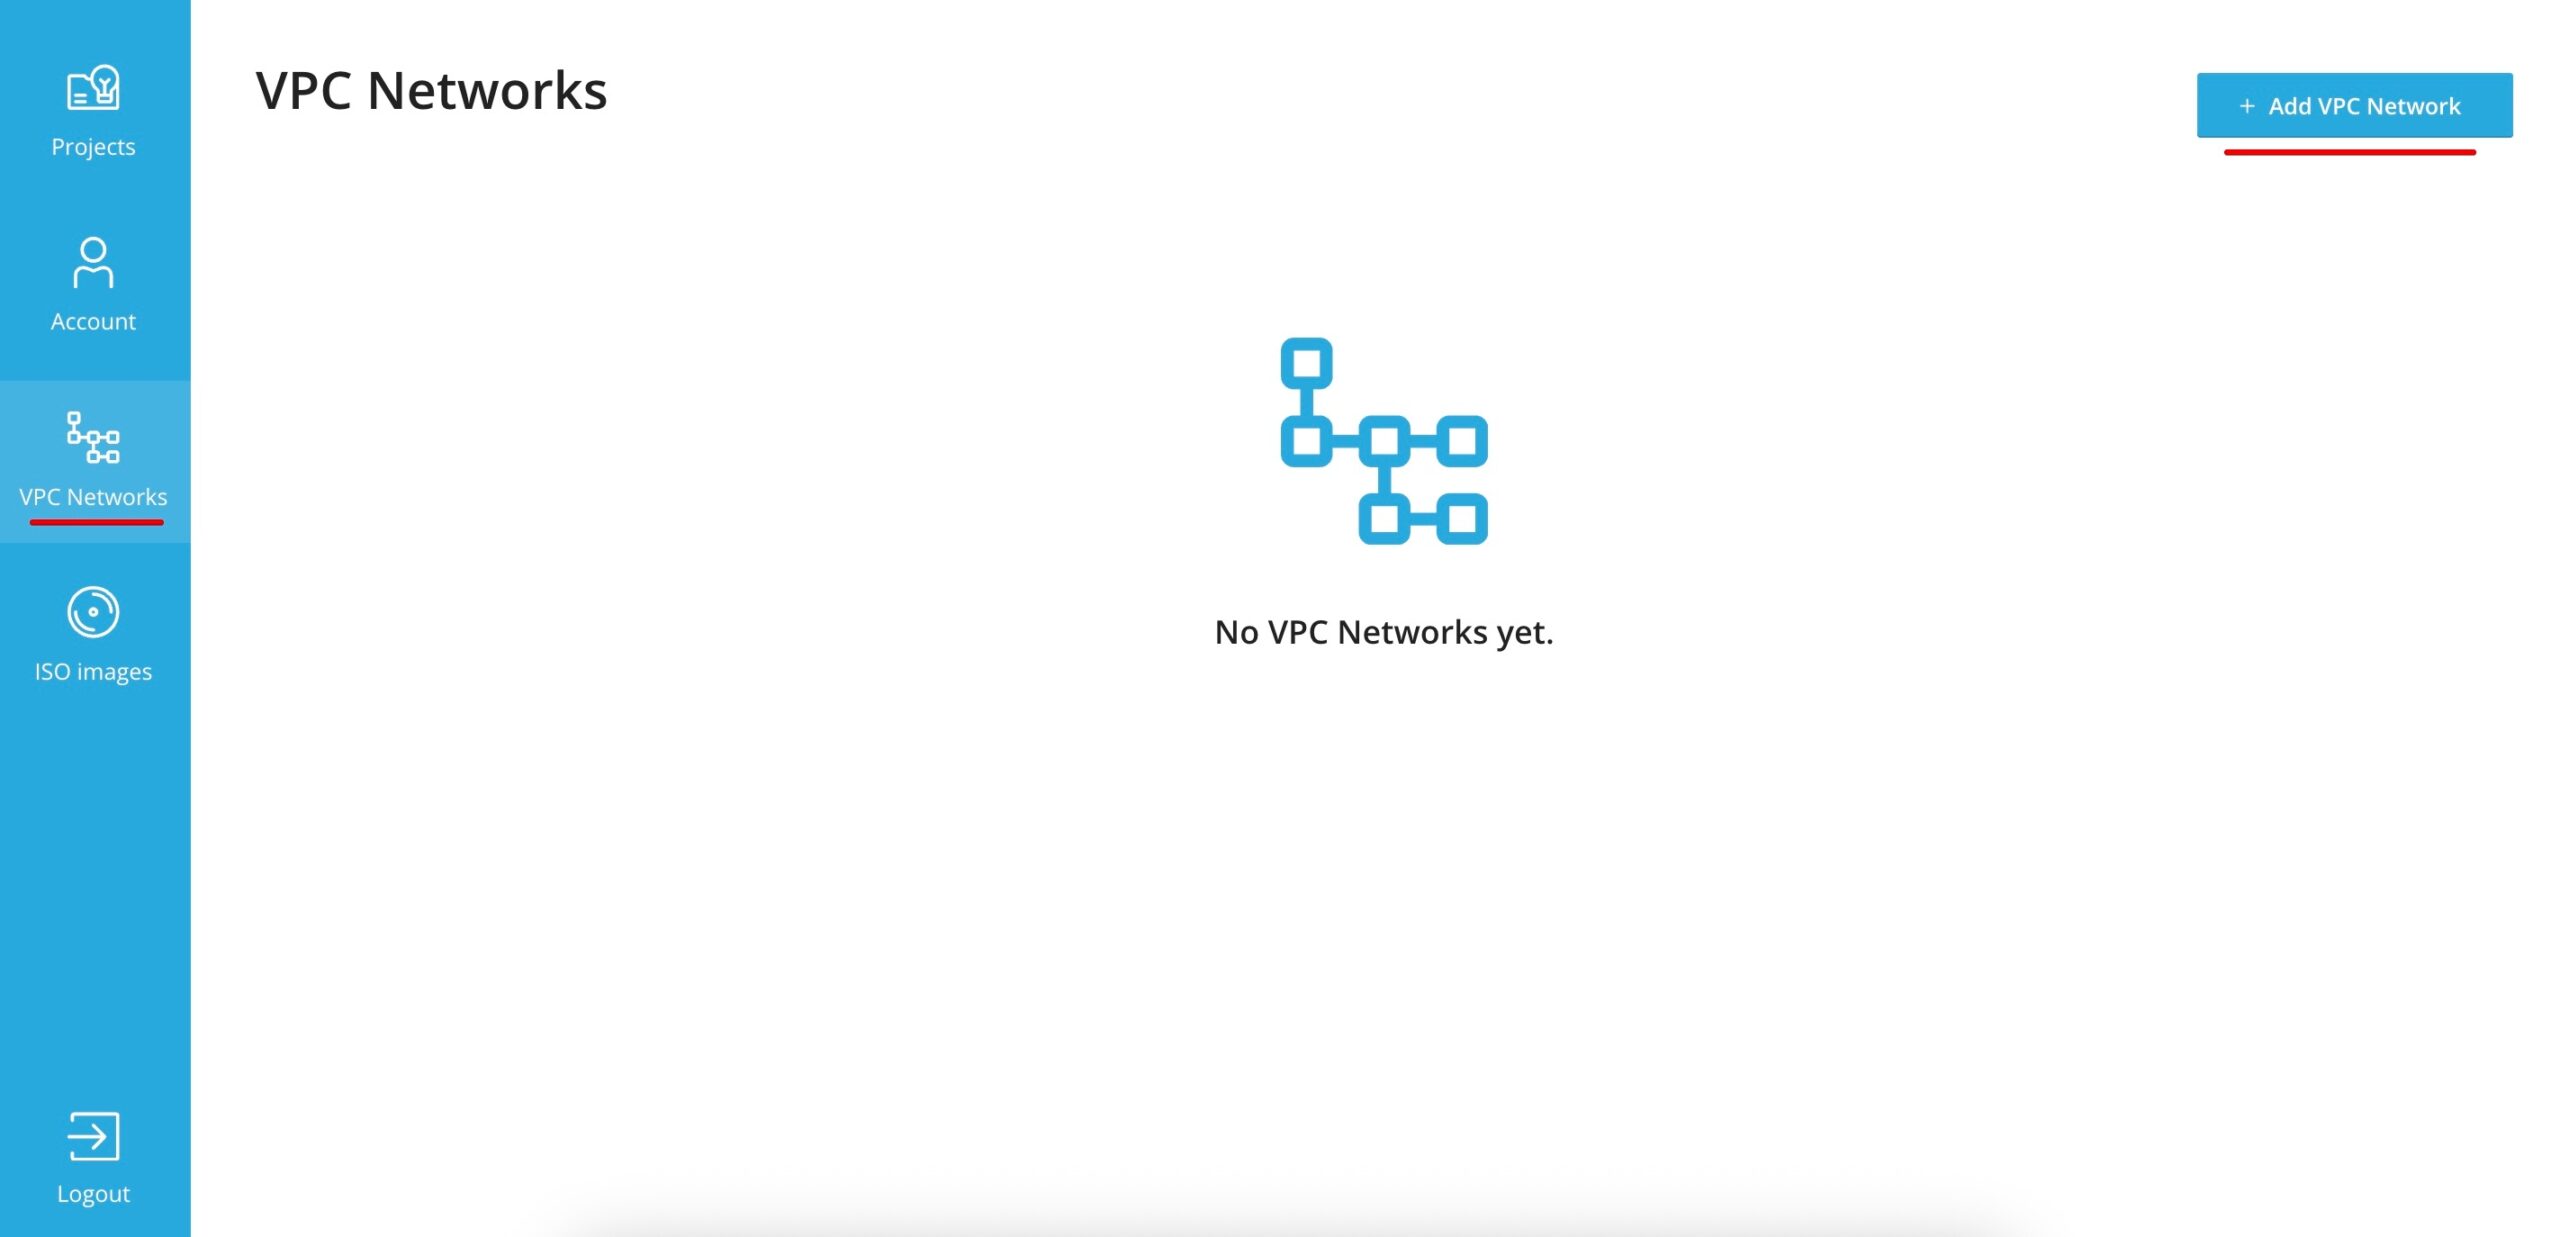
Next, go to the VPC Network section and click the + Add VPC Network button
A pop-up window will appear where you need to fill in the following fields:
- Name – the name of your private network. For example, you can name it ExampleVLAN.
- List type – leave this set to Range.
- From – To – specify the IP address range for the private network. For example: 172.16.1.0 – 172.16.1.5. This means 5 IP addresses will be allocated for the local network.
- Netmask – enter 255.255.255.0 .
- Location – select the location of the VPS servers for which the private network is being created. For example, if your VPS are in the Netherlands, choose Datacenter.com; if in the US, choose Colo4.
After filling in all the fields, click Save to create the private network

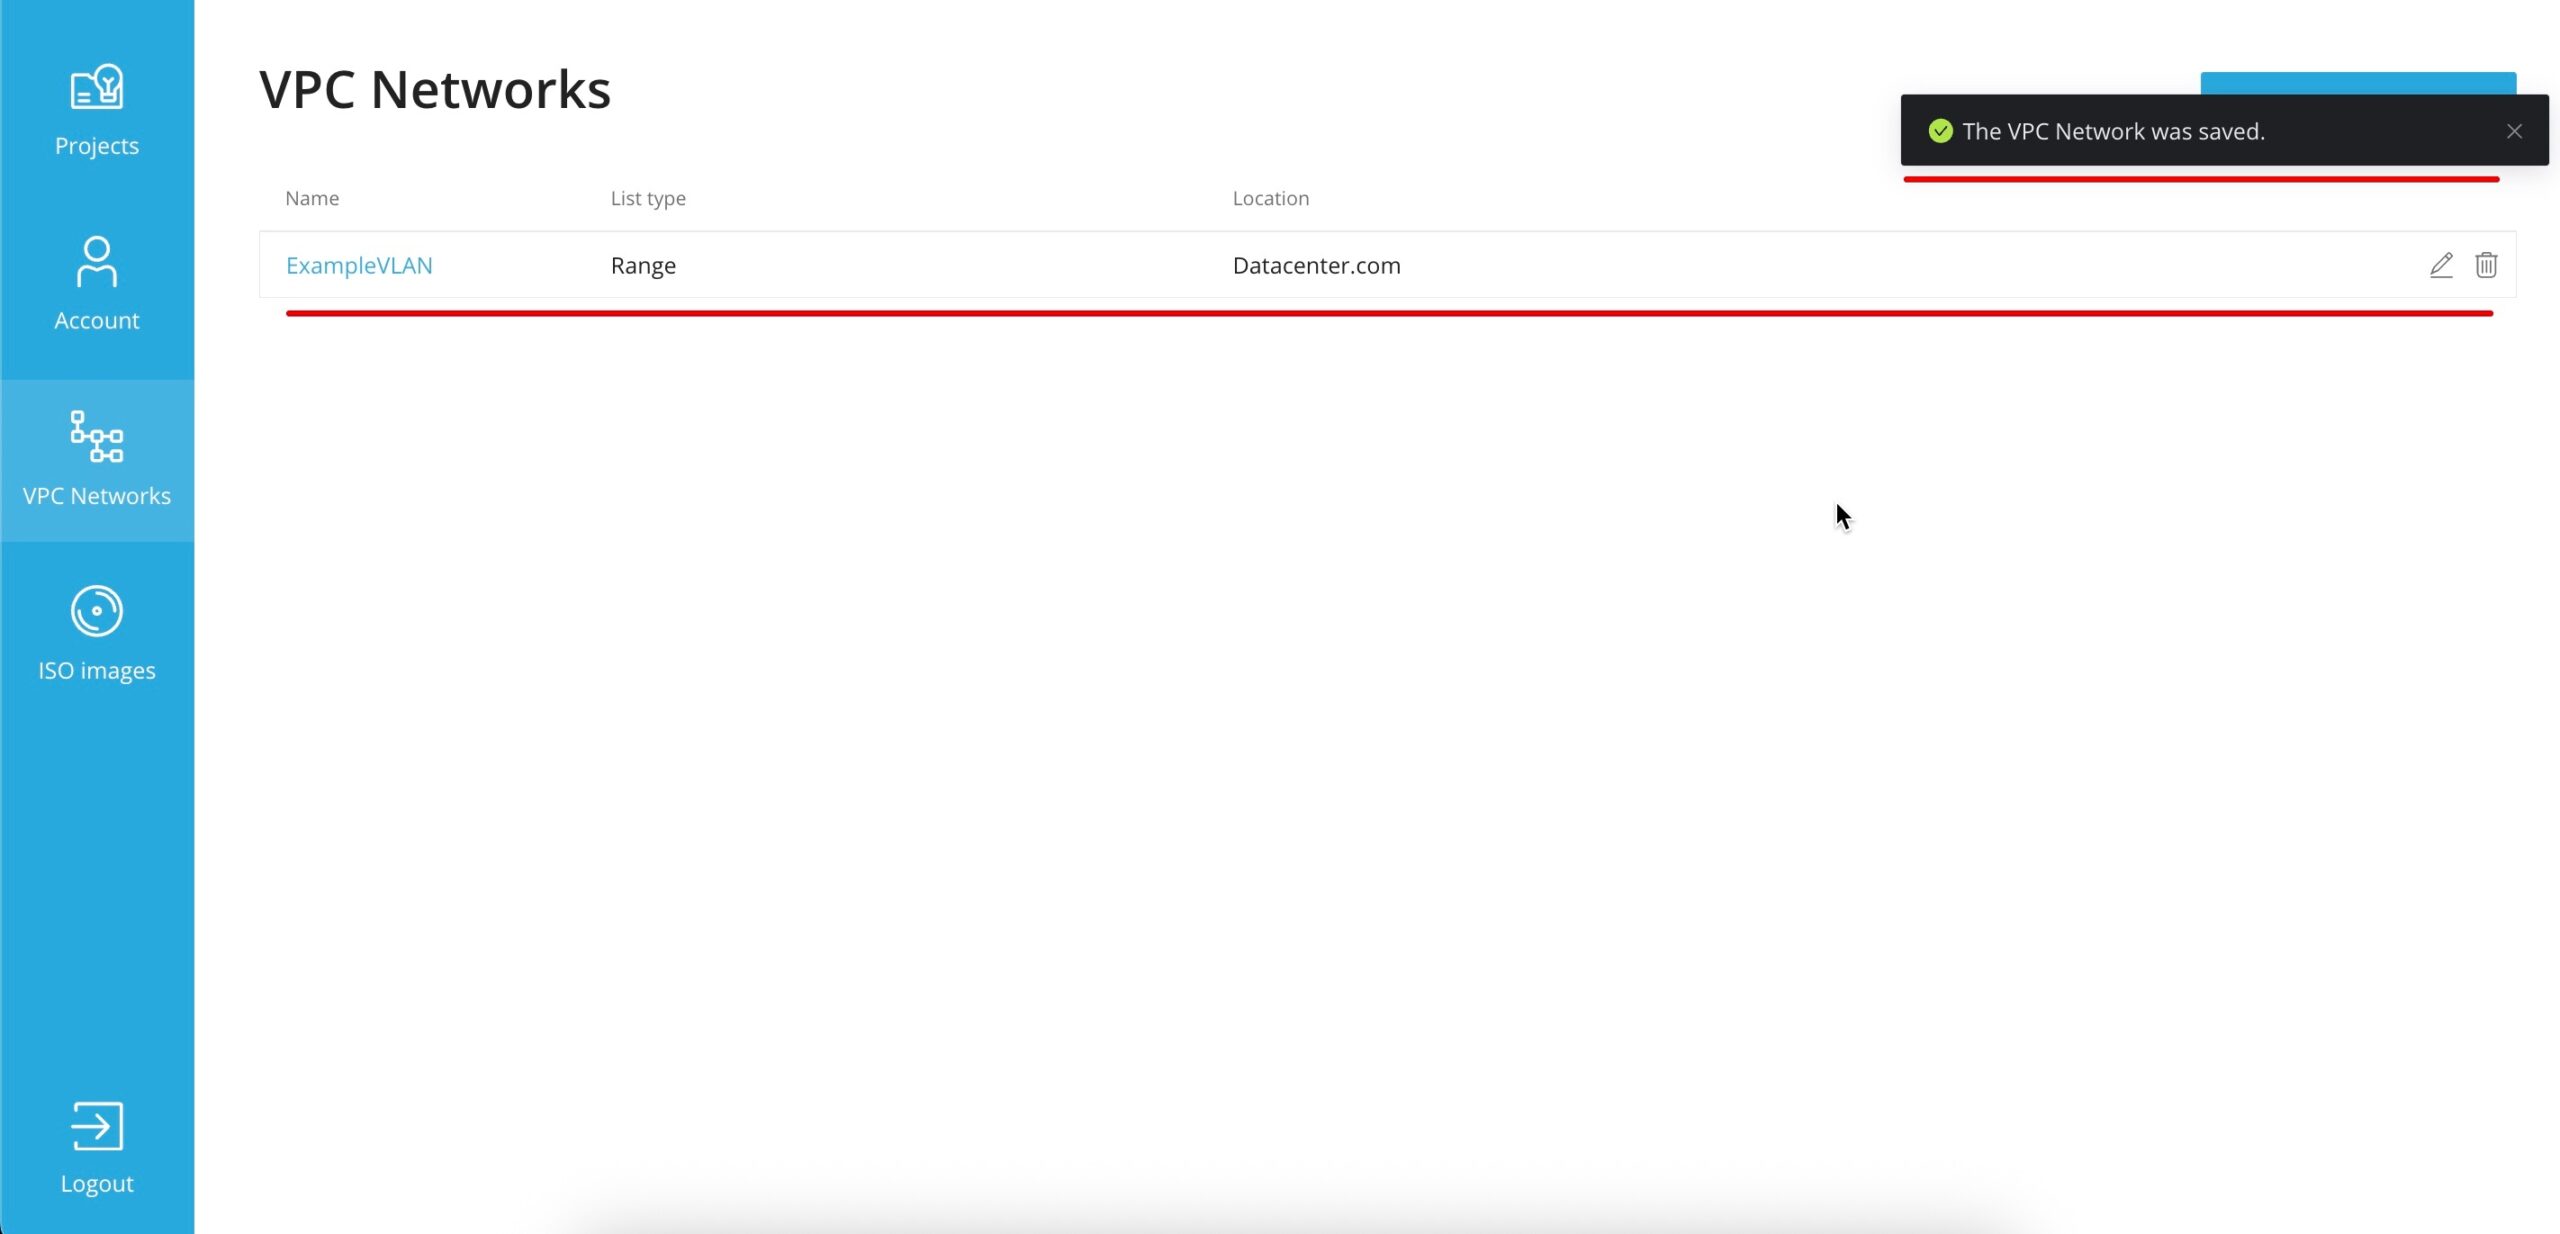
You will then see a confirmation message that the network has been created, along with the network itself
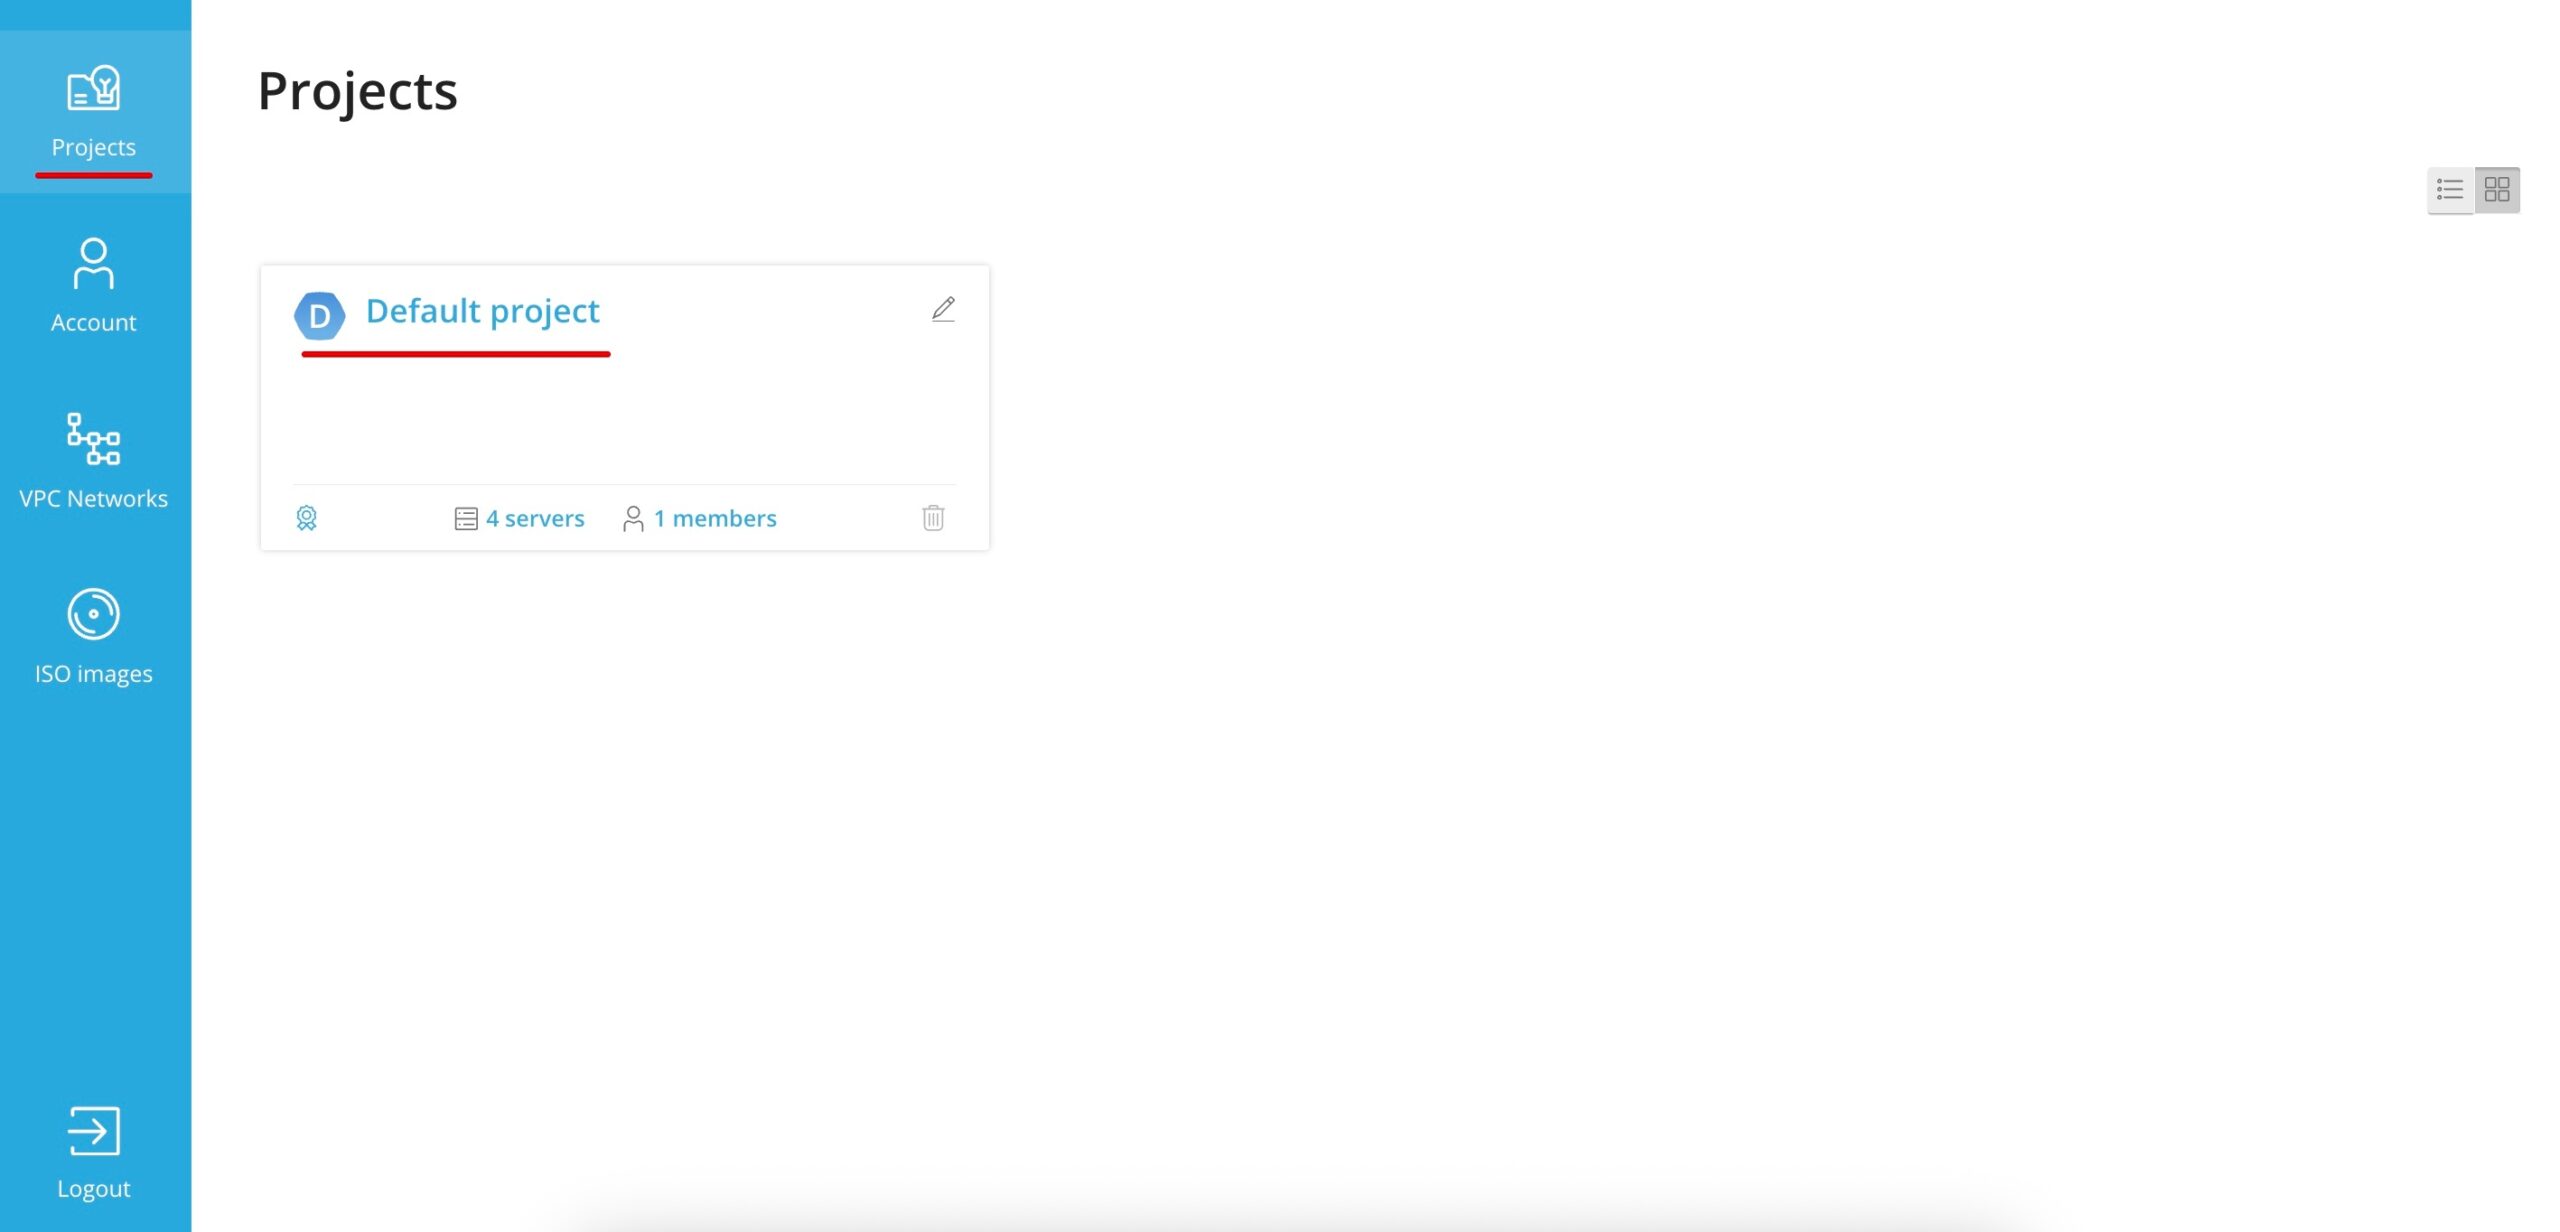
Next, you need to enable the private network for your VPS. To do this, go to the Projects tab and select Default project (this is the default name; if you have renamed it, click on your custom project name instead)
Please note that a private network can only be enabled if Guest Tools is installed on your VPS. Guest Tools is a set of specialized utilities that ensure proper operation and advanced management of the virtual server through the SolusVM2 panel. Guest Tools is installed by default on all new VPS. If you are unsure whether Guest Tools is installed on your server, please contact support.
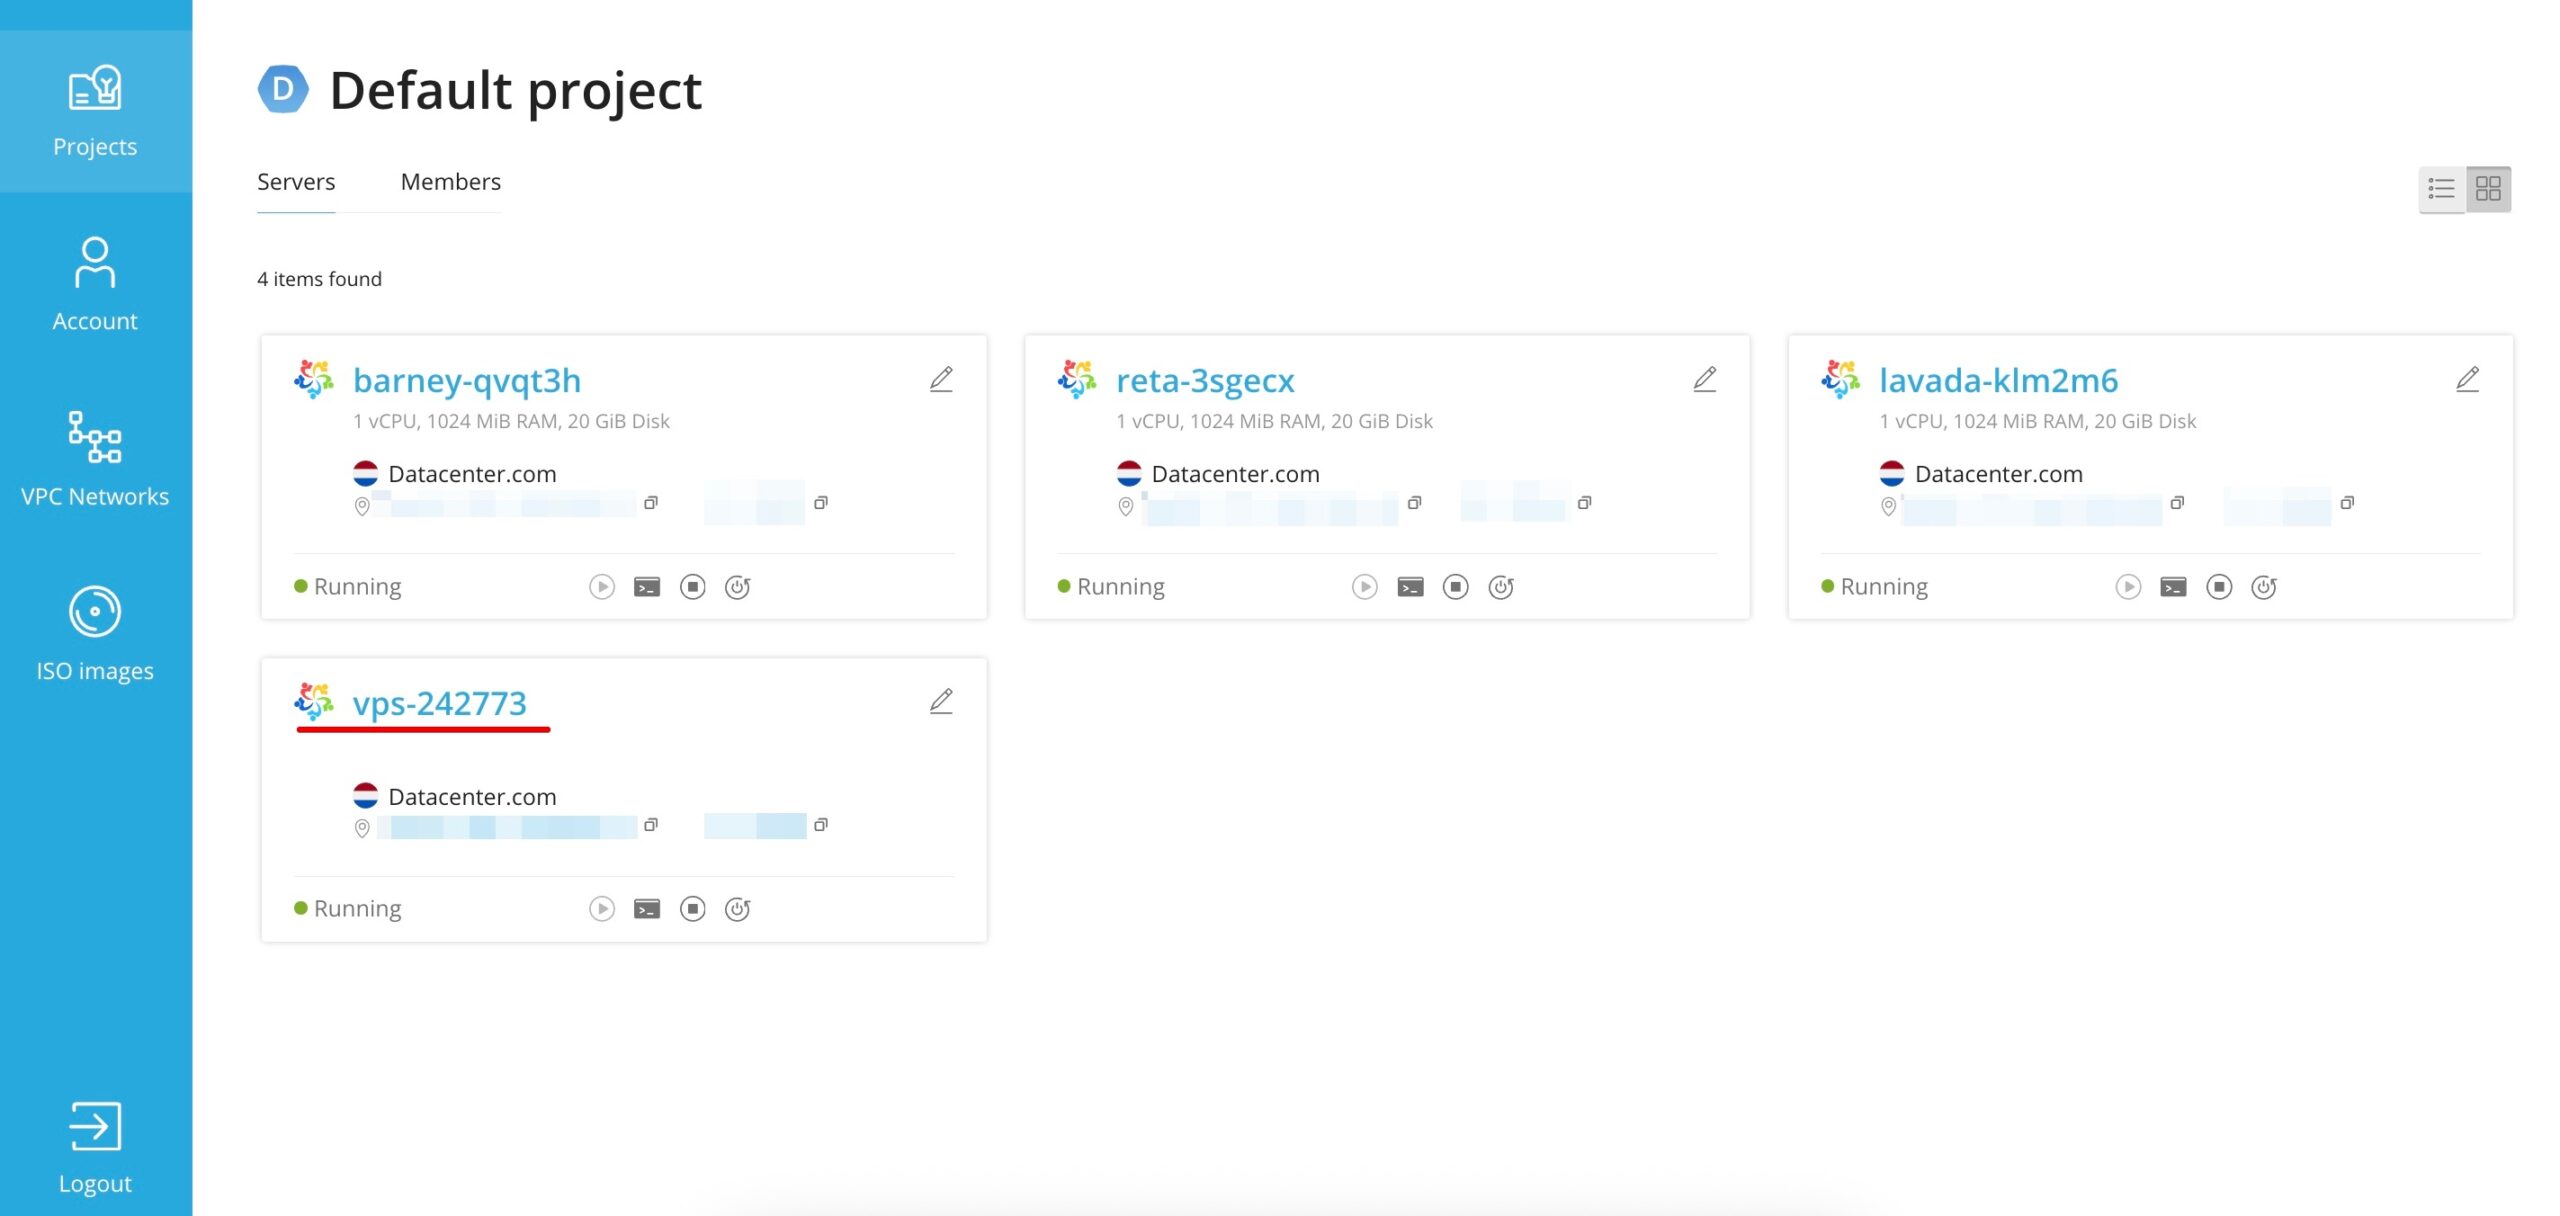
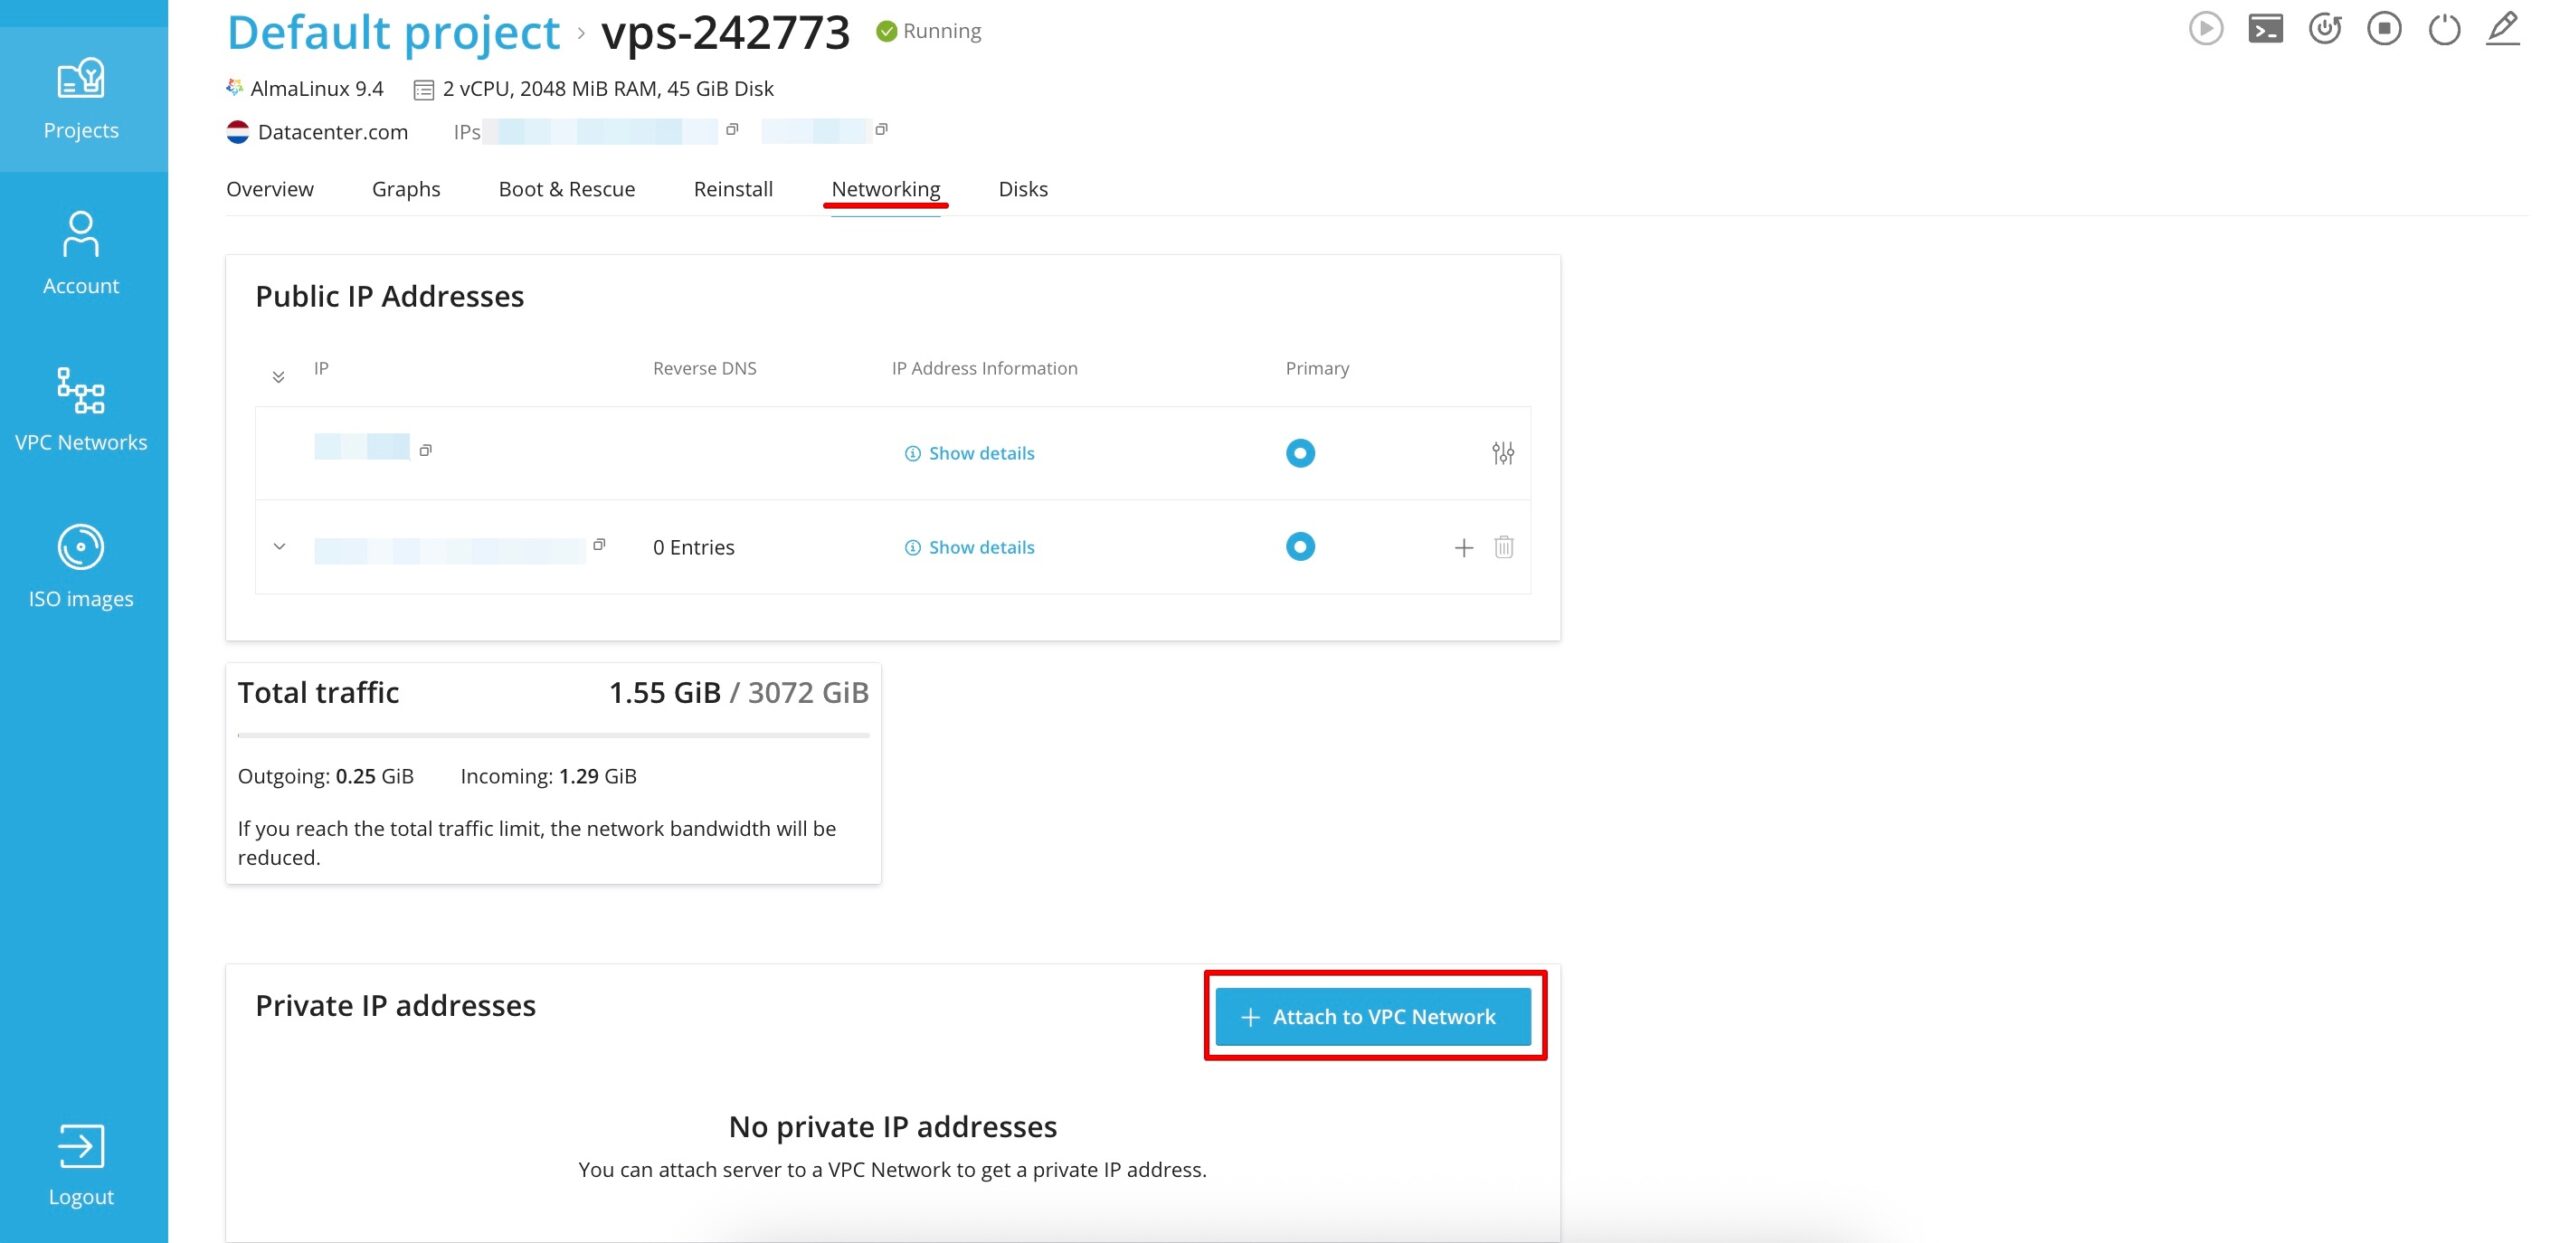
The next step is to go to the settings of the VPS for which you want to enable the private network. In this example, it is a test VPS with the hostname vps-242773
Next, go to the Networking section and click the + Attach to VPC Network button
In the pop-up window, select the network you created earlier and click Attach

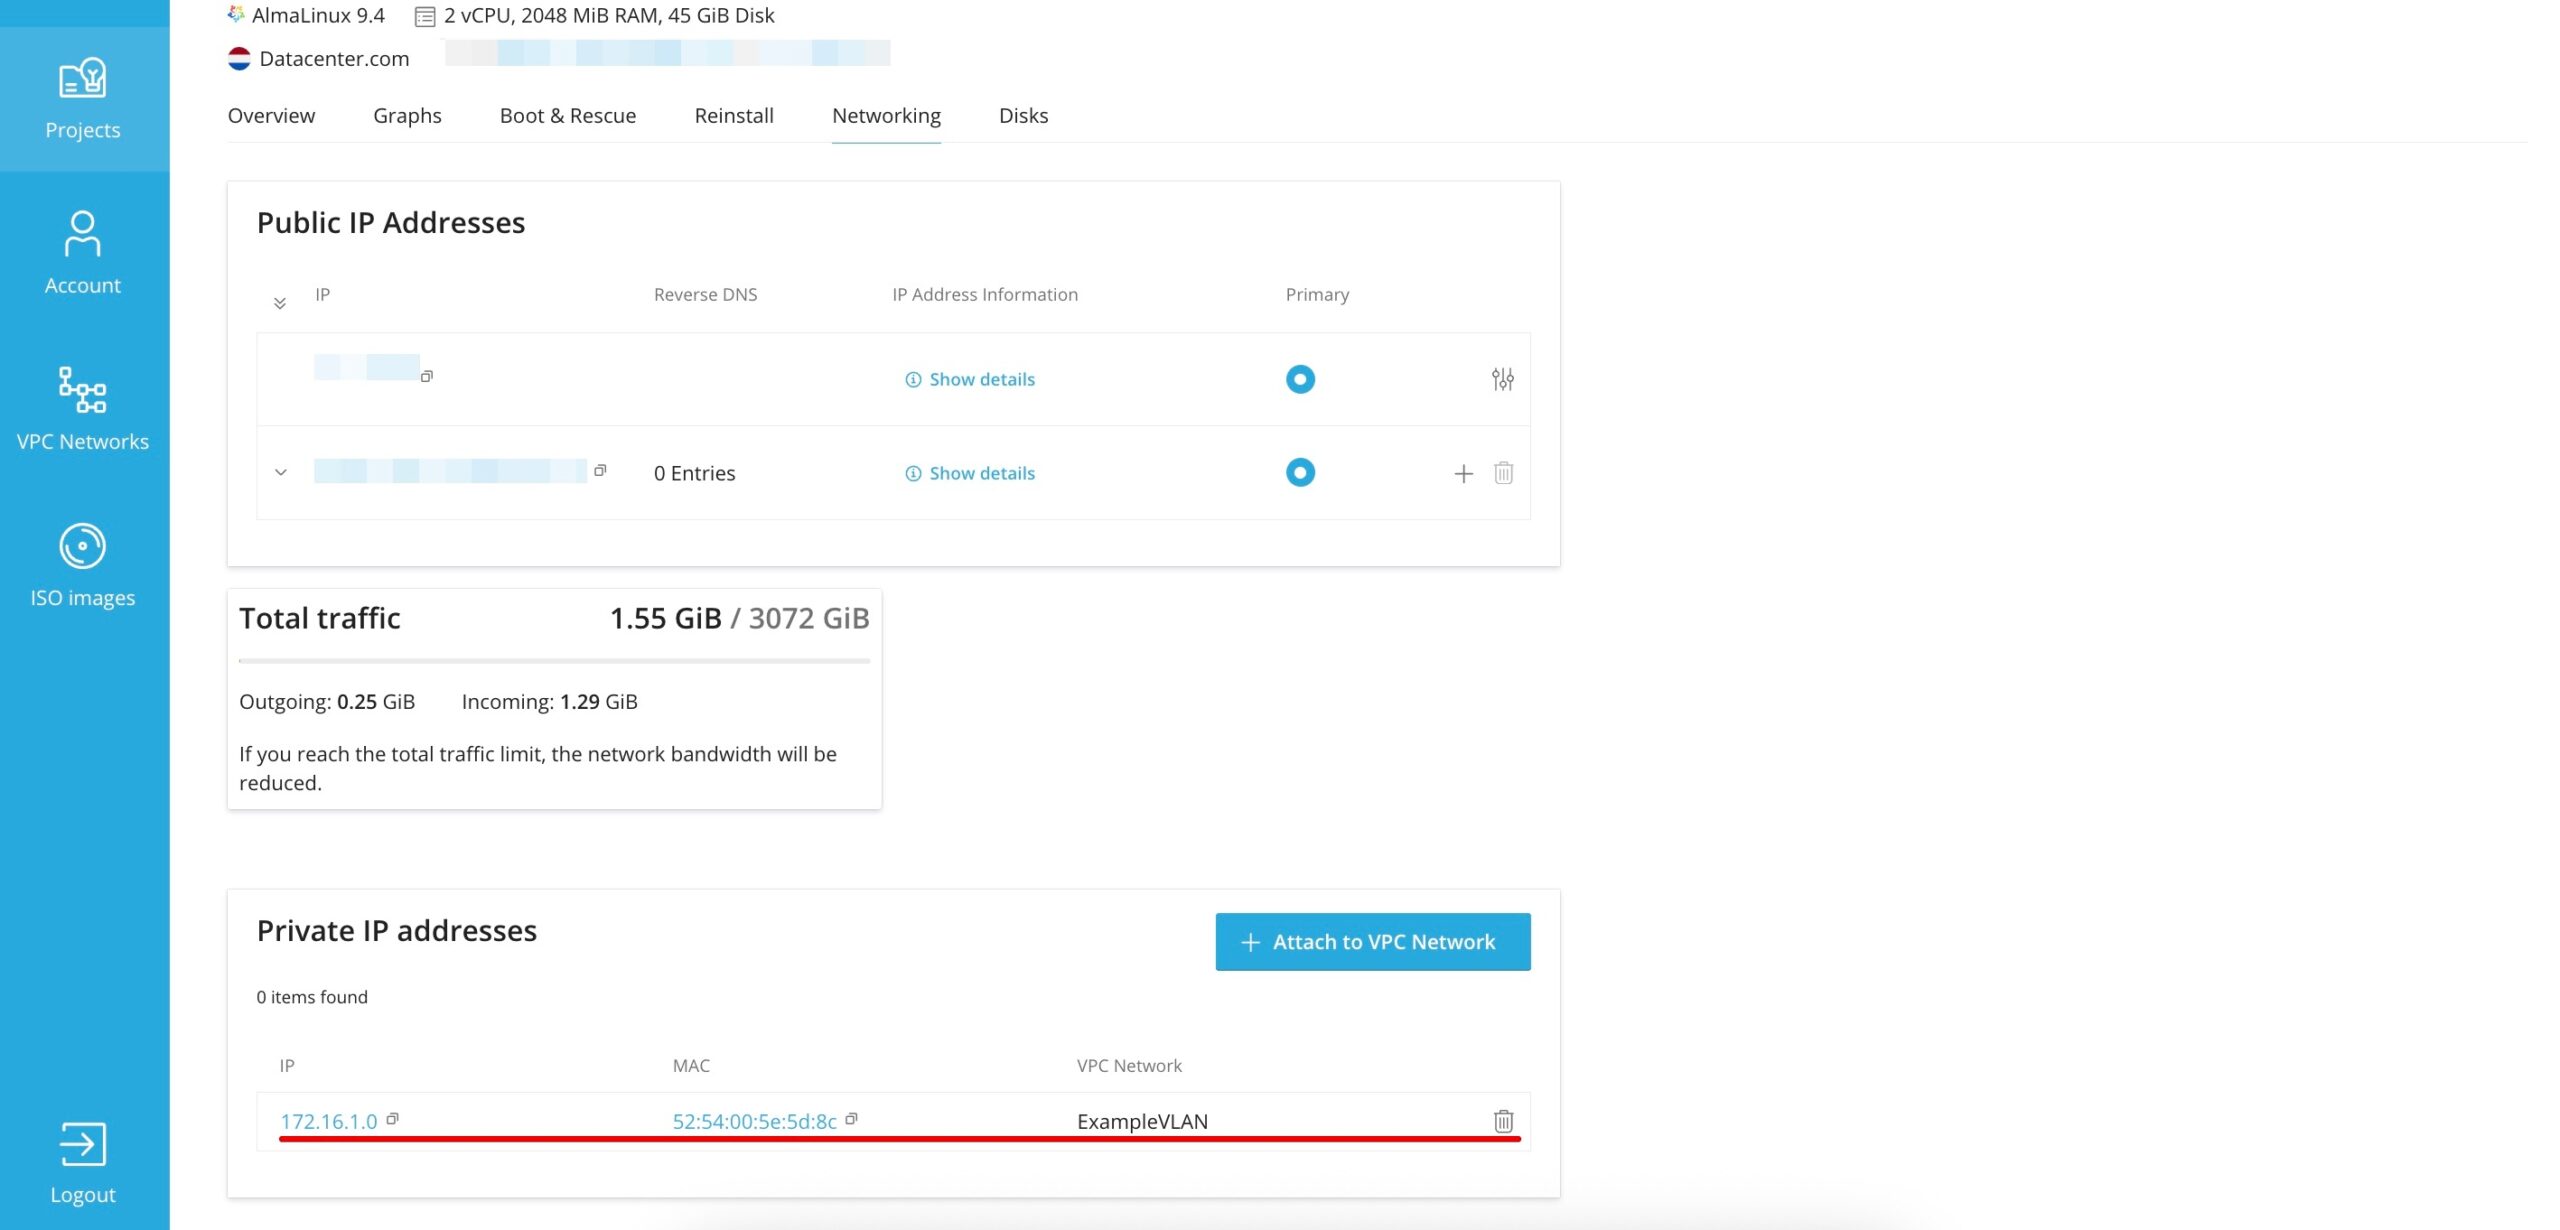
SolusVM will then configure your VPS, and you will see the assigned private network IP address displayed in the Private IP addresses section
Please note the following:
- Configuring a private network does not reboot the VPS
- The VPS is assigned the first available IP address from the range specified when the private network was created
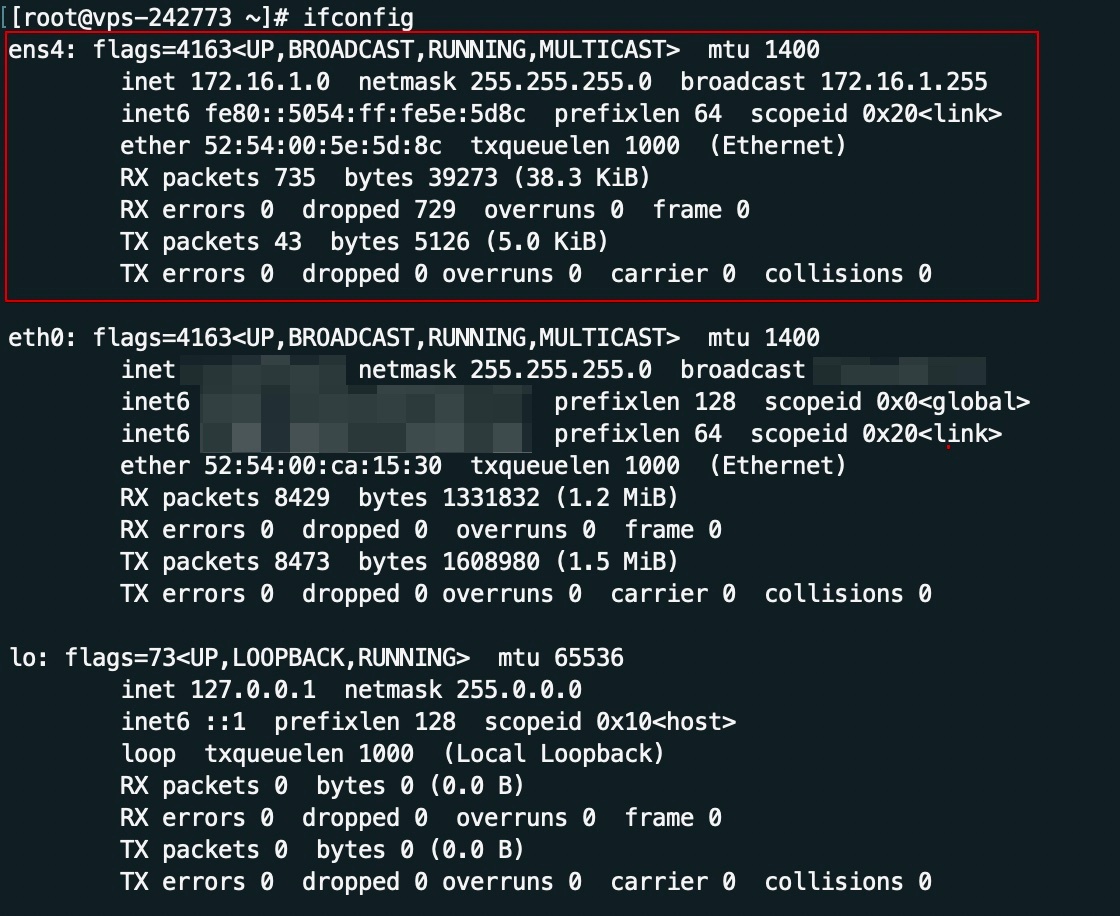
After this, you can connect to your VPS via SSH and verify that the IP address has been applied correctly, for example by running the ifconfig command
Deleting a Private Network
You can remove a VPS from the private network by going to the VPS settings page, opening the Networking tab, and clicking the trash can icon. This will remove the private network interface from the VPS. Removing a private network interface does not cause the VPS itself to reboot.
Deleting the entire private network is only possible once all private network IP addresses have been removed from every VPS.